Creativity & Crafts: How to Build a New Table from Scratch
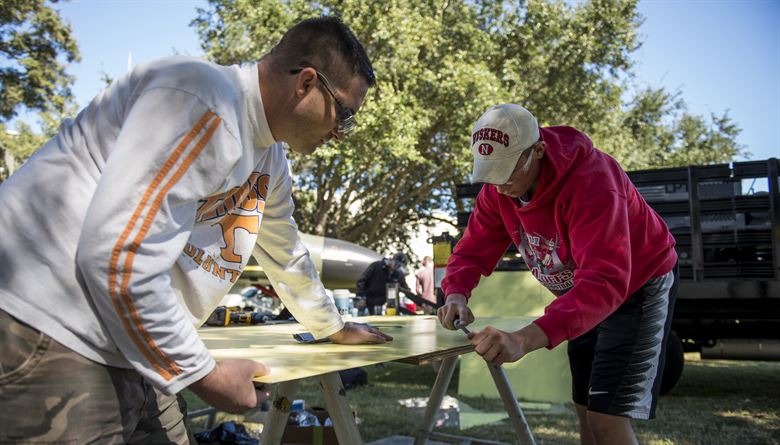
If you are a hands-on homeowner and you want to add a DIY touch, you could always make your own table. A picnic table, for example, can spruce up a backyard and give you a great place to gather friends and family during a barbeque.
It doesn’t have to be complicated either! In fact, with a little bit of skill and a little bit of patience, you can whip up your own picnic table in no time.
What Do You Need to Build Your Table?
To build your picnic table, you will need the following tools:
- Tape measure
- Safety glasses
- Paintbrush
- Sandpaper
- Framing Square
- C-clamps
- Bar clamps
- ⅜-inch drill and drill bits
- Screwdriver
- Deck screws (No. 8 2 ½-inch, 3-inch, and 4-inch)
- Circular saw
- Saber saw
If you are interested in getting some use out of the SKIL RAS900 you bought, you could use this in the place of the circular and saber saws. Some people find using the circular saw and saber saw a little bit easier.
When it comes to materials, you will need some lumber, posts, and carriage bolts.
- 2 x 4-inch posts
- 2 x 6-inch posts
- 2 x 8-inch posts
- 2 x 4-inch lumber
- 2 x 6-inch lumber
- ⅜ x 3-inch carriage bolts
Step 1: Table Slabs and Supports
The first thing you will want to do is to cut the table slabs for your picnic table. For these, you will take the 2 x 8-inch slabs and cut them down to size. The cuts for the table slats should be 1 ½-inches D x 7 ¼-inches W x 72-inches L.
Next, you should cut the table supports – there will be three of these. The two on the end and the center support should be cut to 1 ½-inches by 3 ½-inches by 28 ¾-inches. Each of the end supports should be cut with a 60-degree angle on each end and a 60-degree bevel on the end of the center support.
Step 2: Putting the Table Together
Now you can lay the table supports on the slats with the two end supports 7 inches from the end and the center support, obviously, in the center.
At this point, you are ready to secure the table supports. Use No. 8 4-inch deck screws for the end supports but only use No. 8 2 ½-inch deck screws for the center support.
Step 3: Creating the Table Legs
The dimensions for the table legs are 1 ½-inches x 5 ½ inches x 40 ½ inches. However, it is a wise idea to cut these legs about an inch longer than they need to be. Once again, create a 60-degree cutting angle on both ends of the legs.
To cut off the leg corners, you will want to start by making a mark 1 ½ inches from the bottom on the outside edge of each leg. Use a combination square to draw a line from the outside edge and cut off the corner.
Step 4: Attaching the Legs
Next, you will want to clamp the table legs to the edge supports of the table. Use 3-inch carriage bolts to attach the legs.
Step 5: Adding Bench Support
At this point, you have the table put together but no picnic table is complete without benches for seating.
To start, you will want to mark the position of the bench supports by using a framing square with one arm on the table top. On the other arm, measure about 13 ½ inches. You will want to be careful here because you want to make sure that the seating is perfectly parallel to the tabletop.
Before attaching the supports, you will want to cut 60-degree angles on the end of the bench supports. Then, use a clamp to hold the supports in place and drill four hole on the outside of each leg. Fasten the supports into place with 3-inch carriage bolts.
Step 6: Preparing the Braces
You will want to take your 2 x 4 braces and cut a 60-degree angles on each end. After that, lay a right-angled notch out at a side of each brace so that they fit in with the center table support. To make this notch, cut in 2 ¼-inches at the edge of the brace and 1 ¾-inches deep from the mark with a combination square. Then position and secure each brace with No. 8 3-inch deck screws.
Step 7: Seating
At this point, you will want to cut the two bench cleats to 1 ½-inches by 3 ½-inches by 10 inches. Again, cut a 60-degree bevel at each end.
Then, you should use ¼-inch spacers and attach the bench cleats together with No. 8 2 ½-inch deck screws. After that, you should take steps to attach the bench to the supports.
Step 8: Finishing Touches
Once the table is put together, all you have to do is sand the table down and finish it. Make sure to use a waterproof finish so it doesn’t wear as the table is exposed to weather.
Author bio

Hi there, I’m Woodworking Pete Alman. I’m a former carpenter turned writer, and proud resident of Nashville, Tennessee. When not working on a project in my shed, I’m lifting weights or hanging out with my three dogs (Dobermans).